The Foundation System
Started from the bottom…

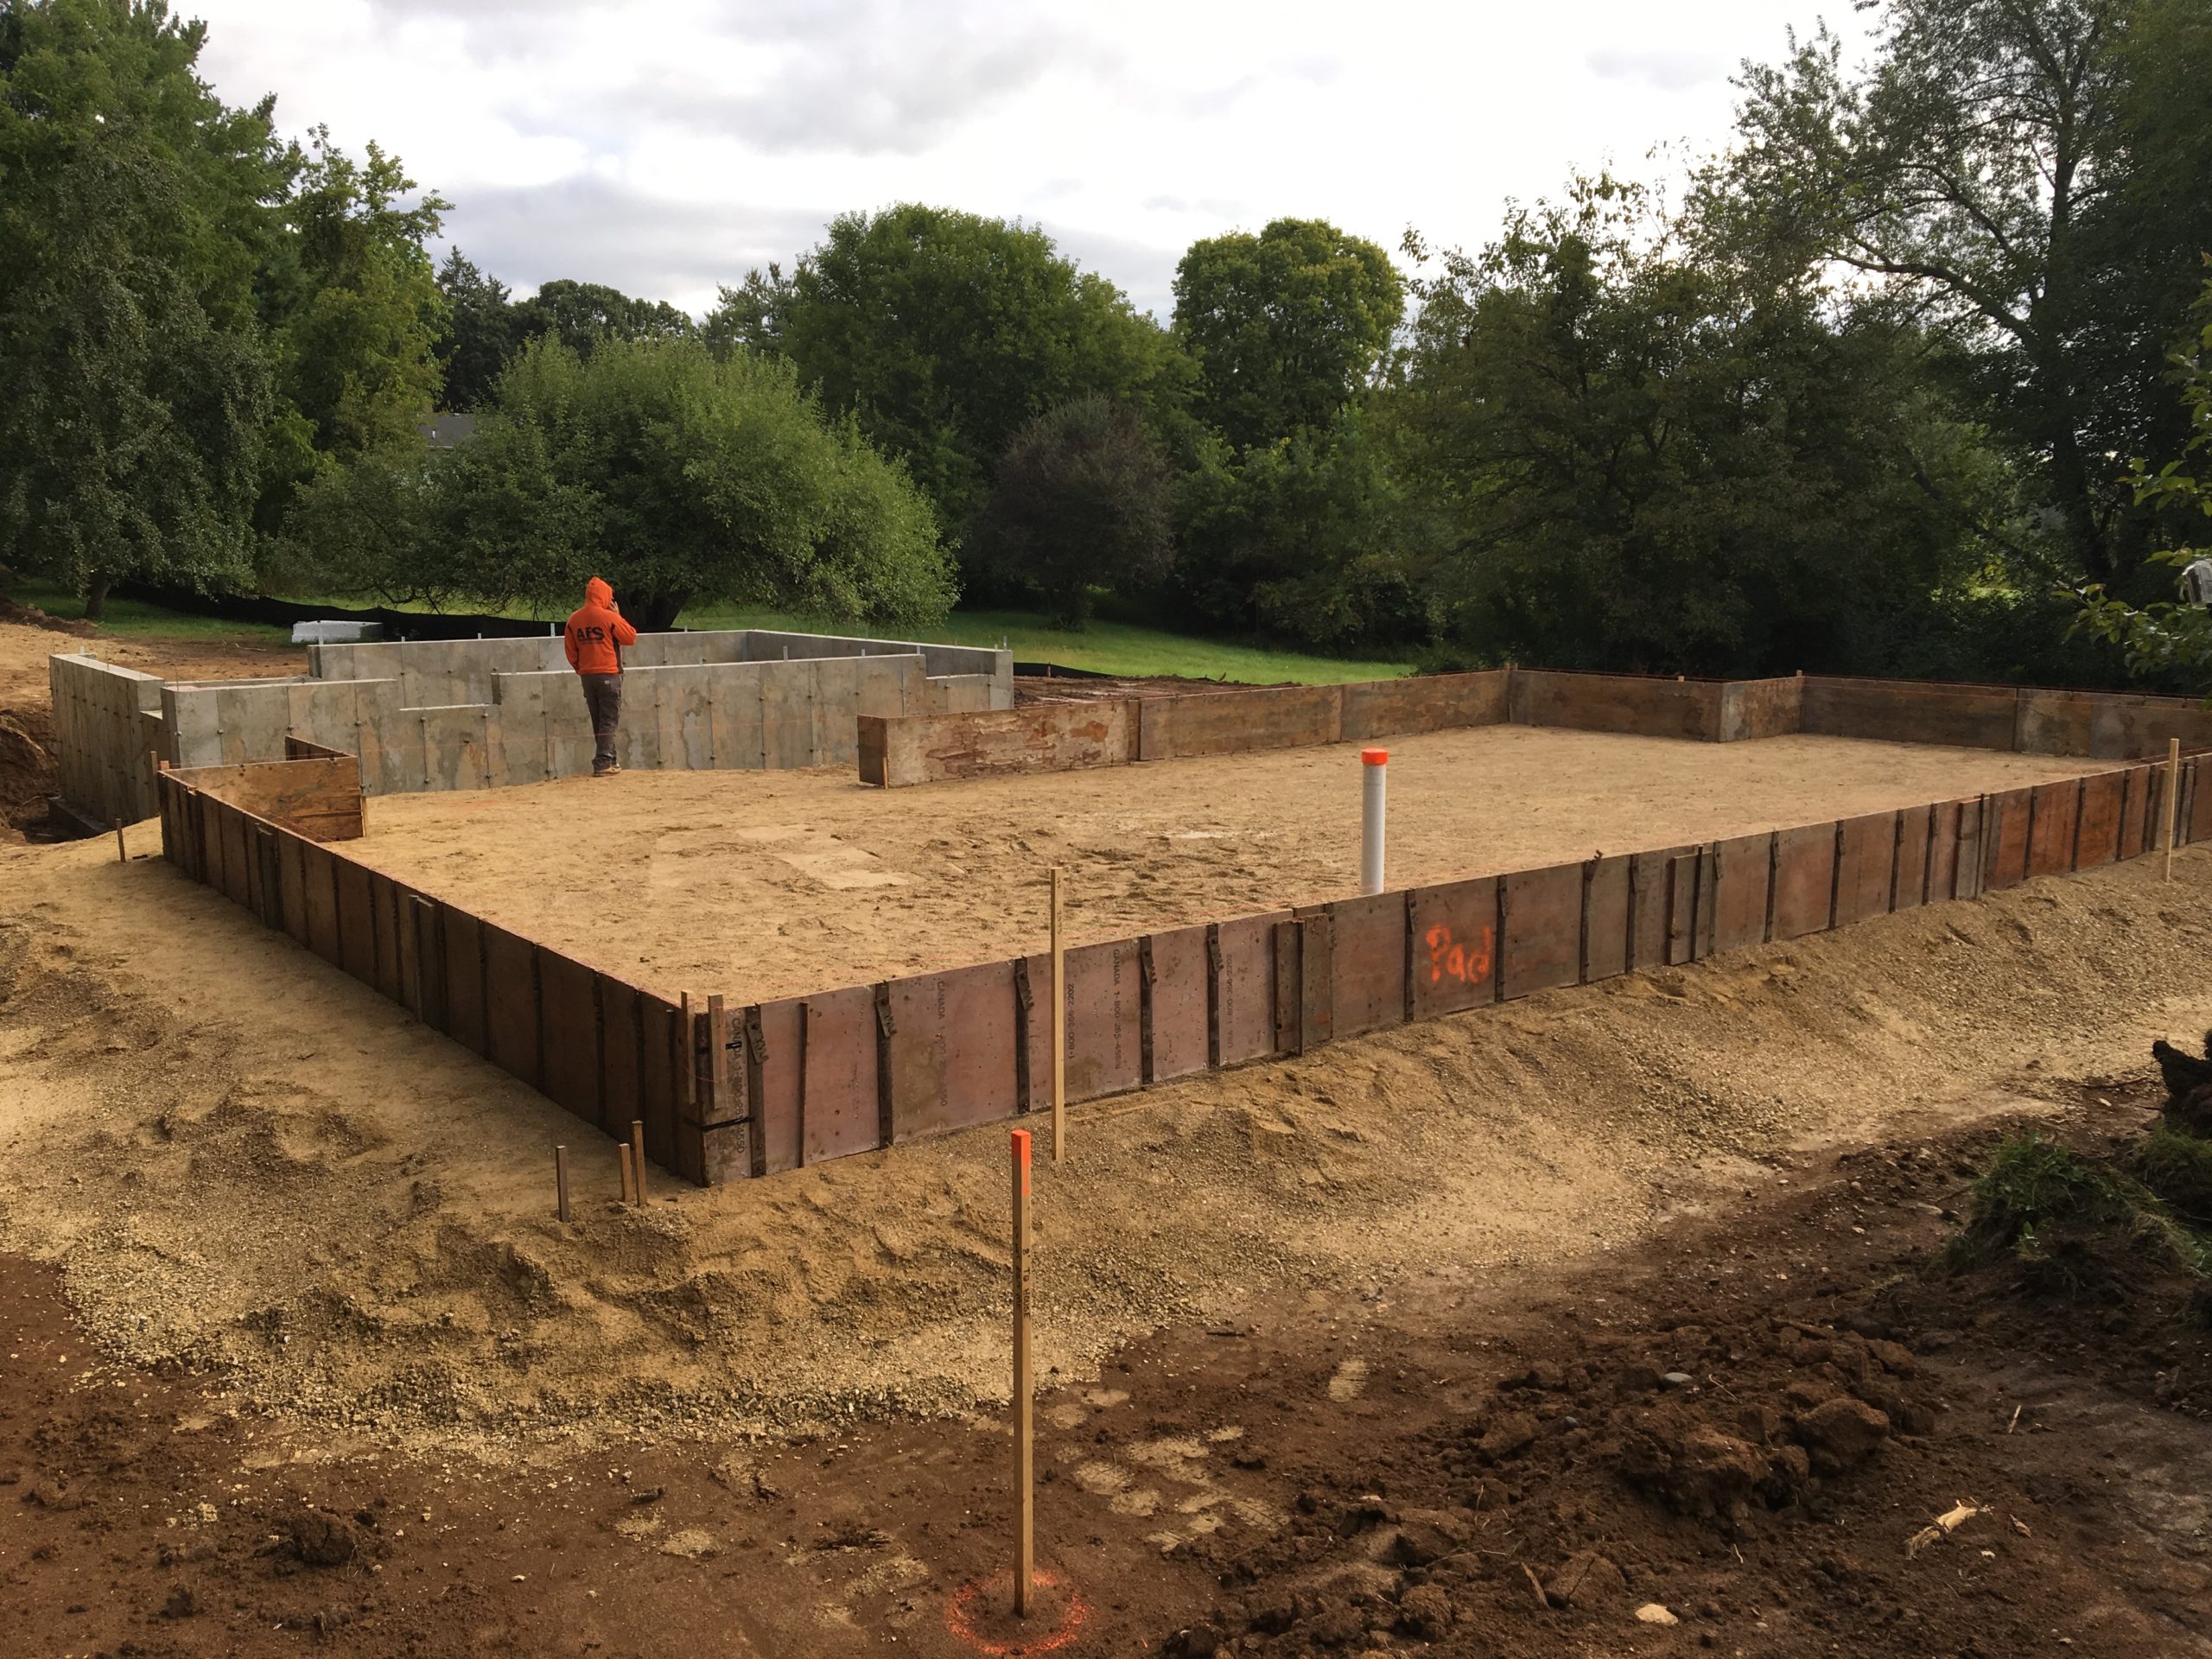
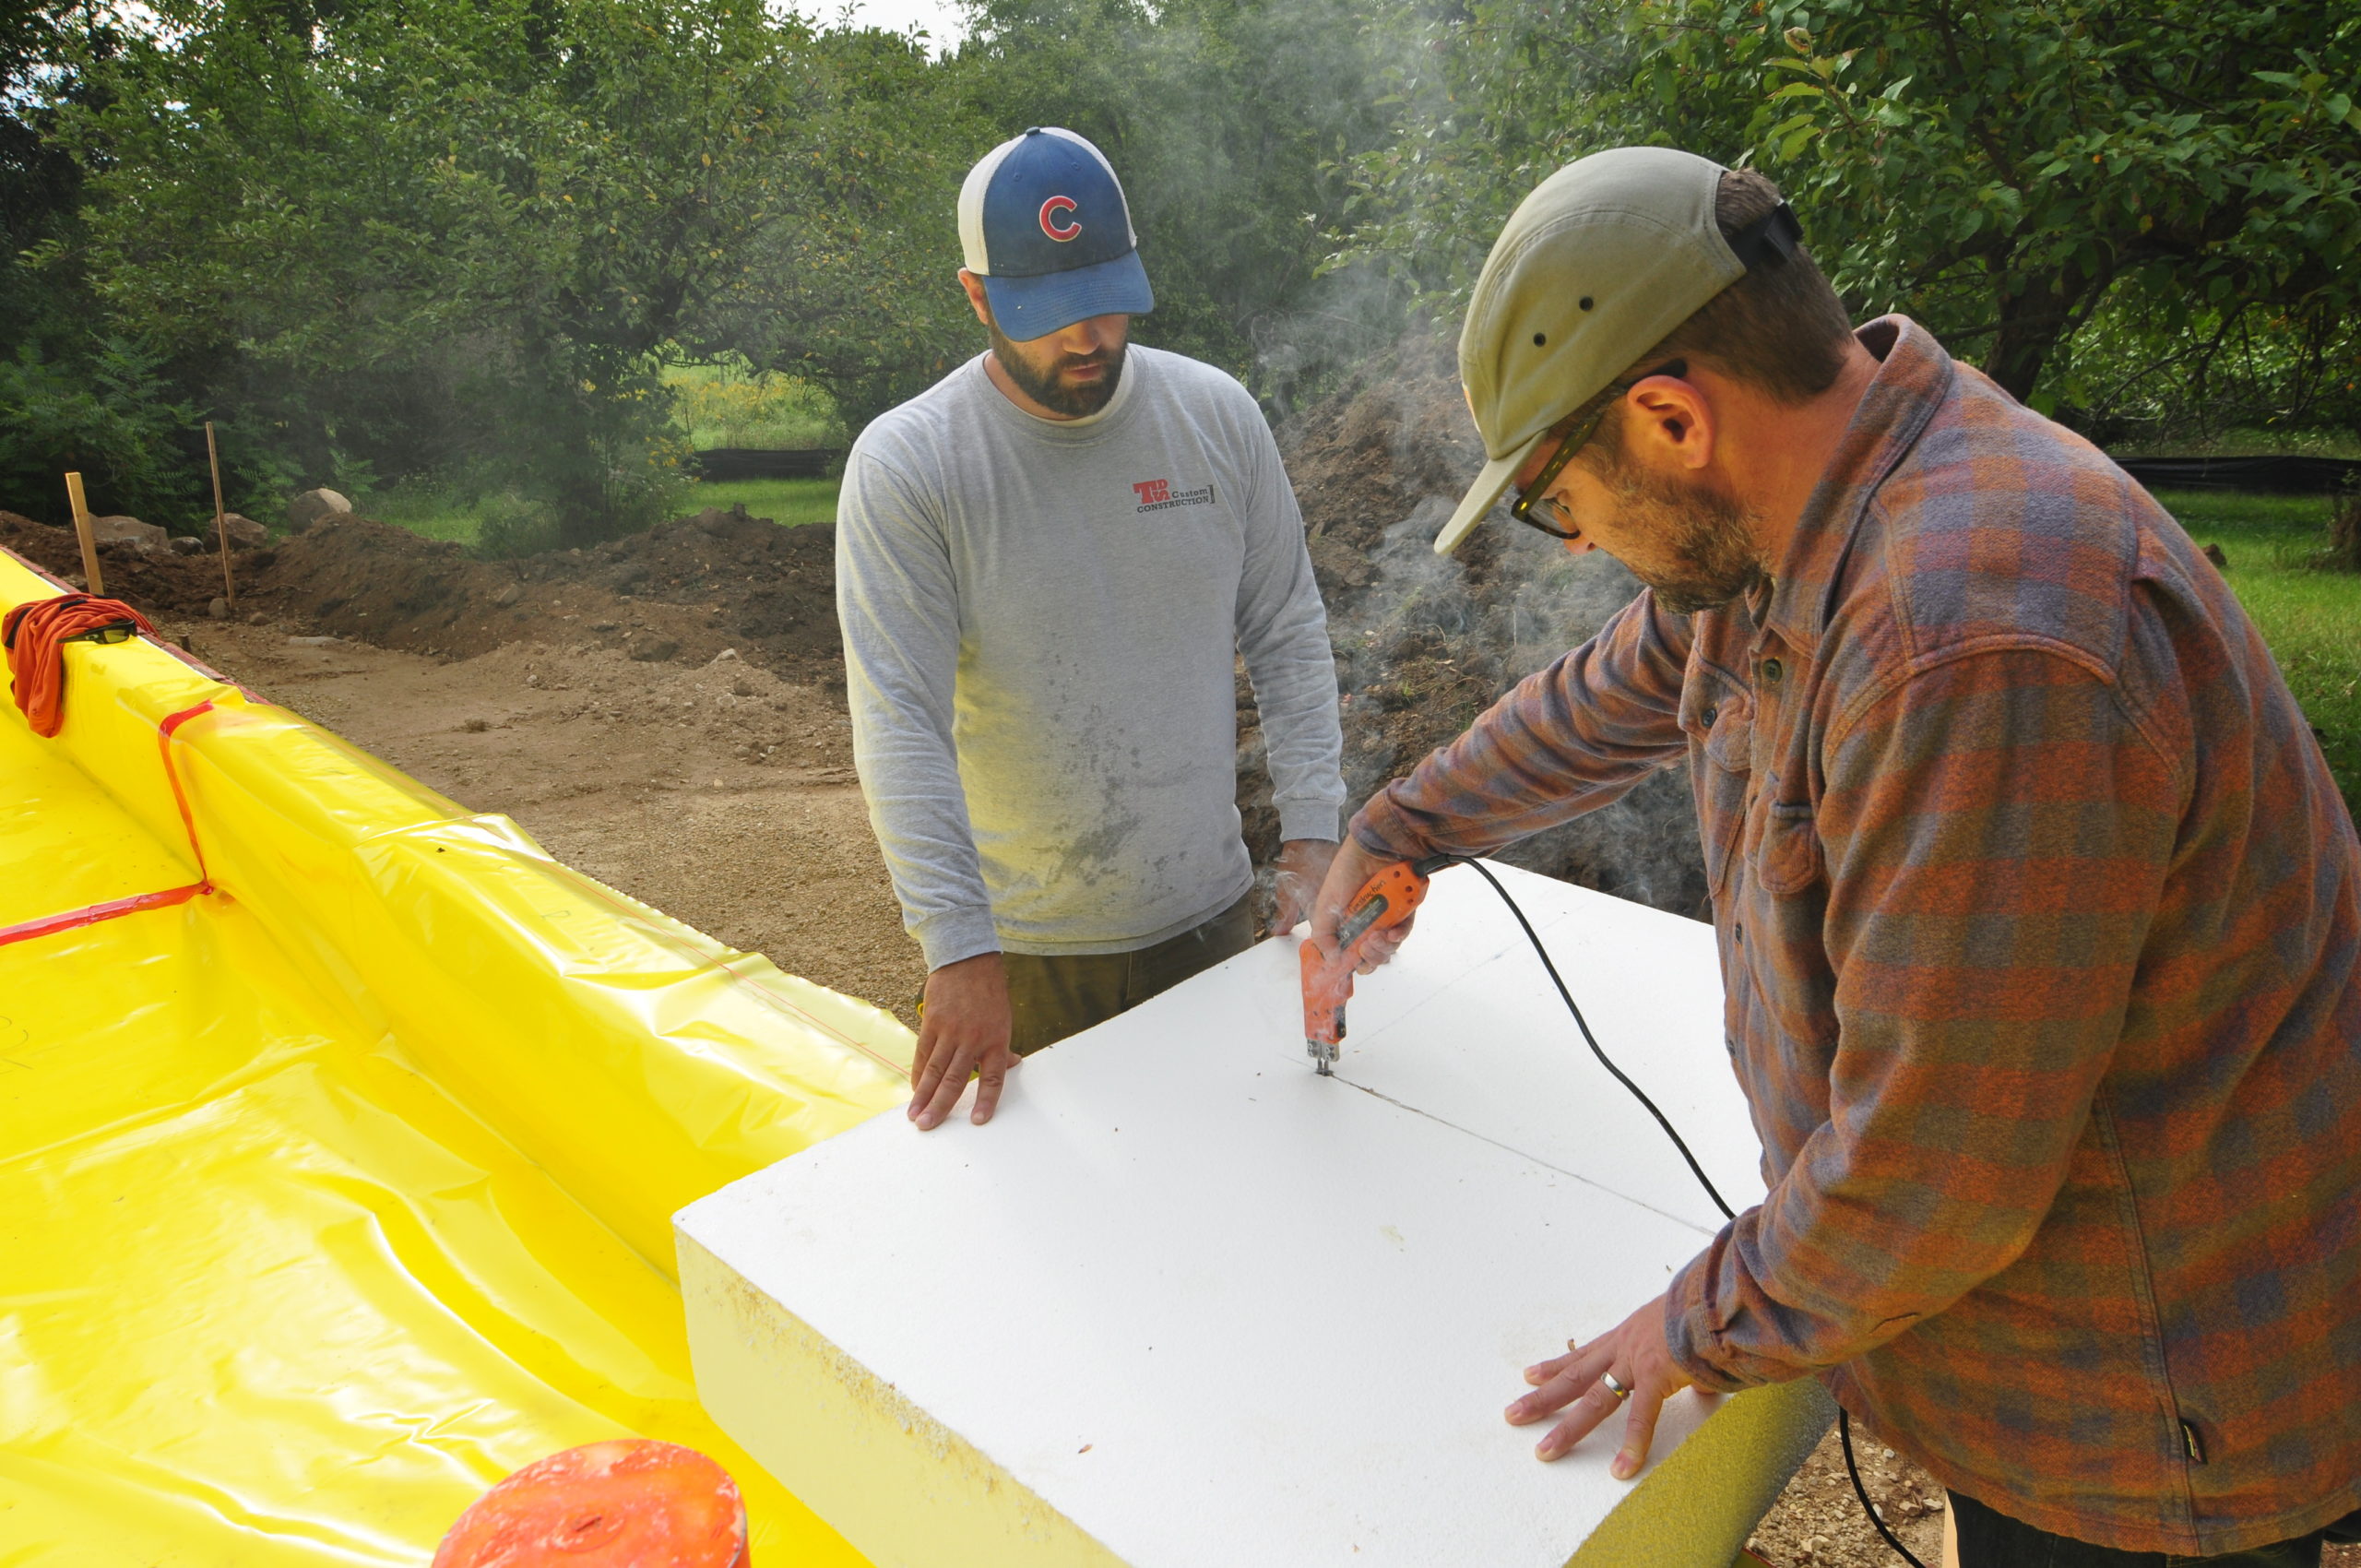
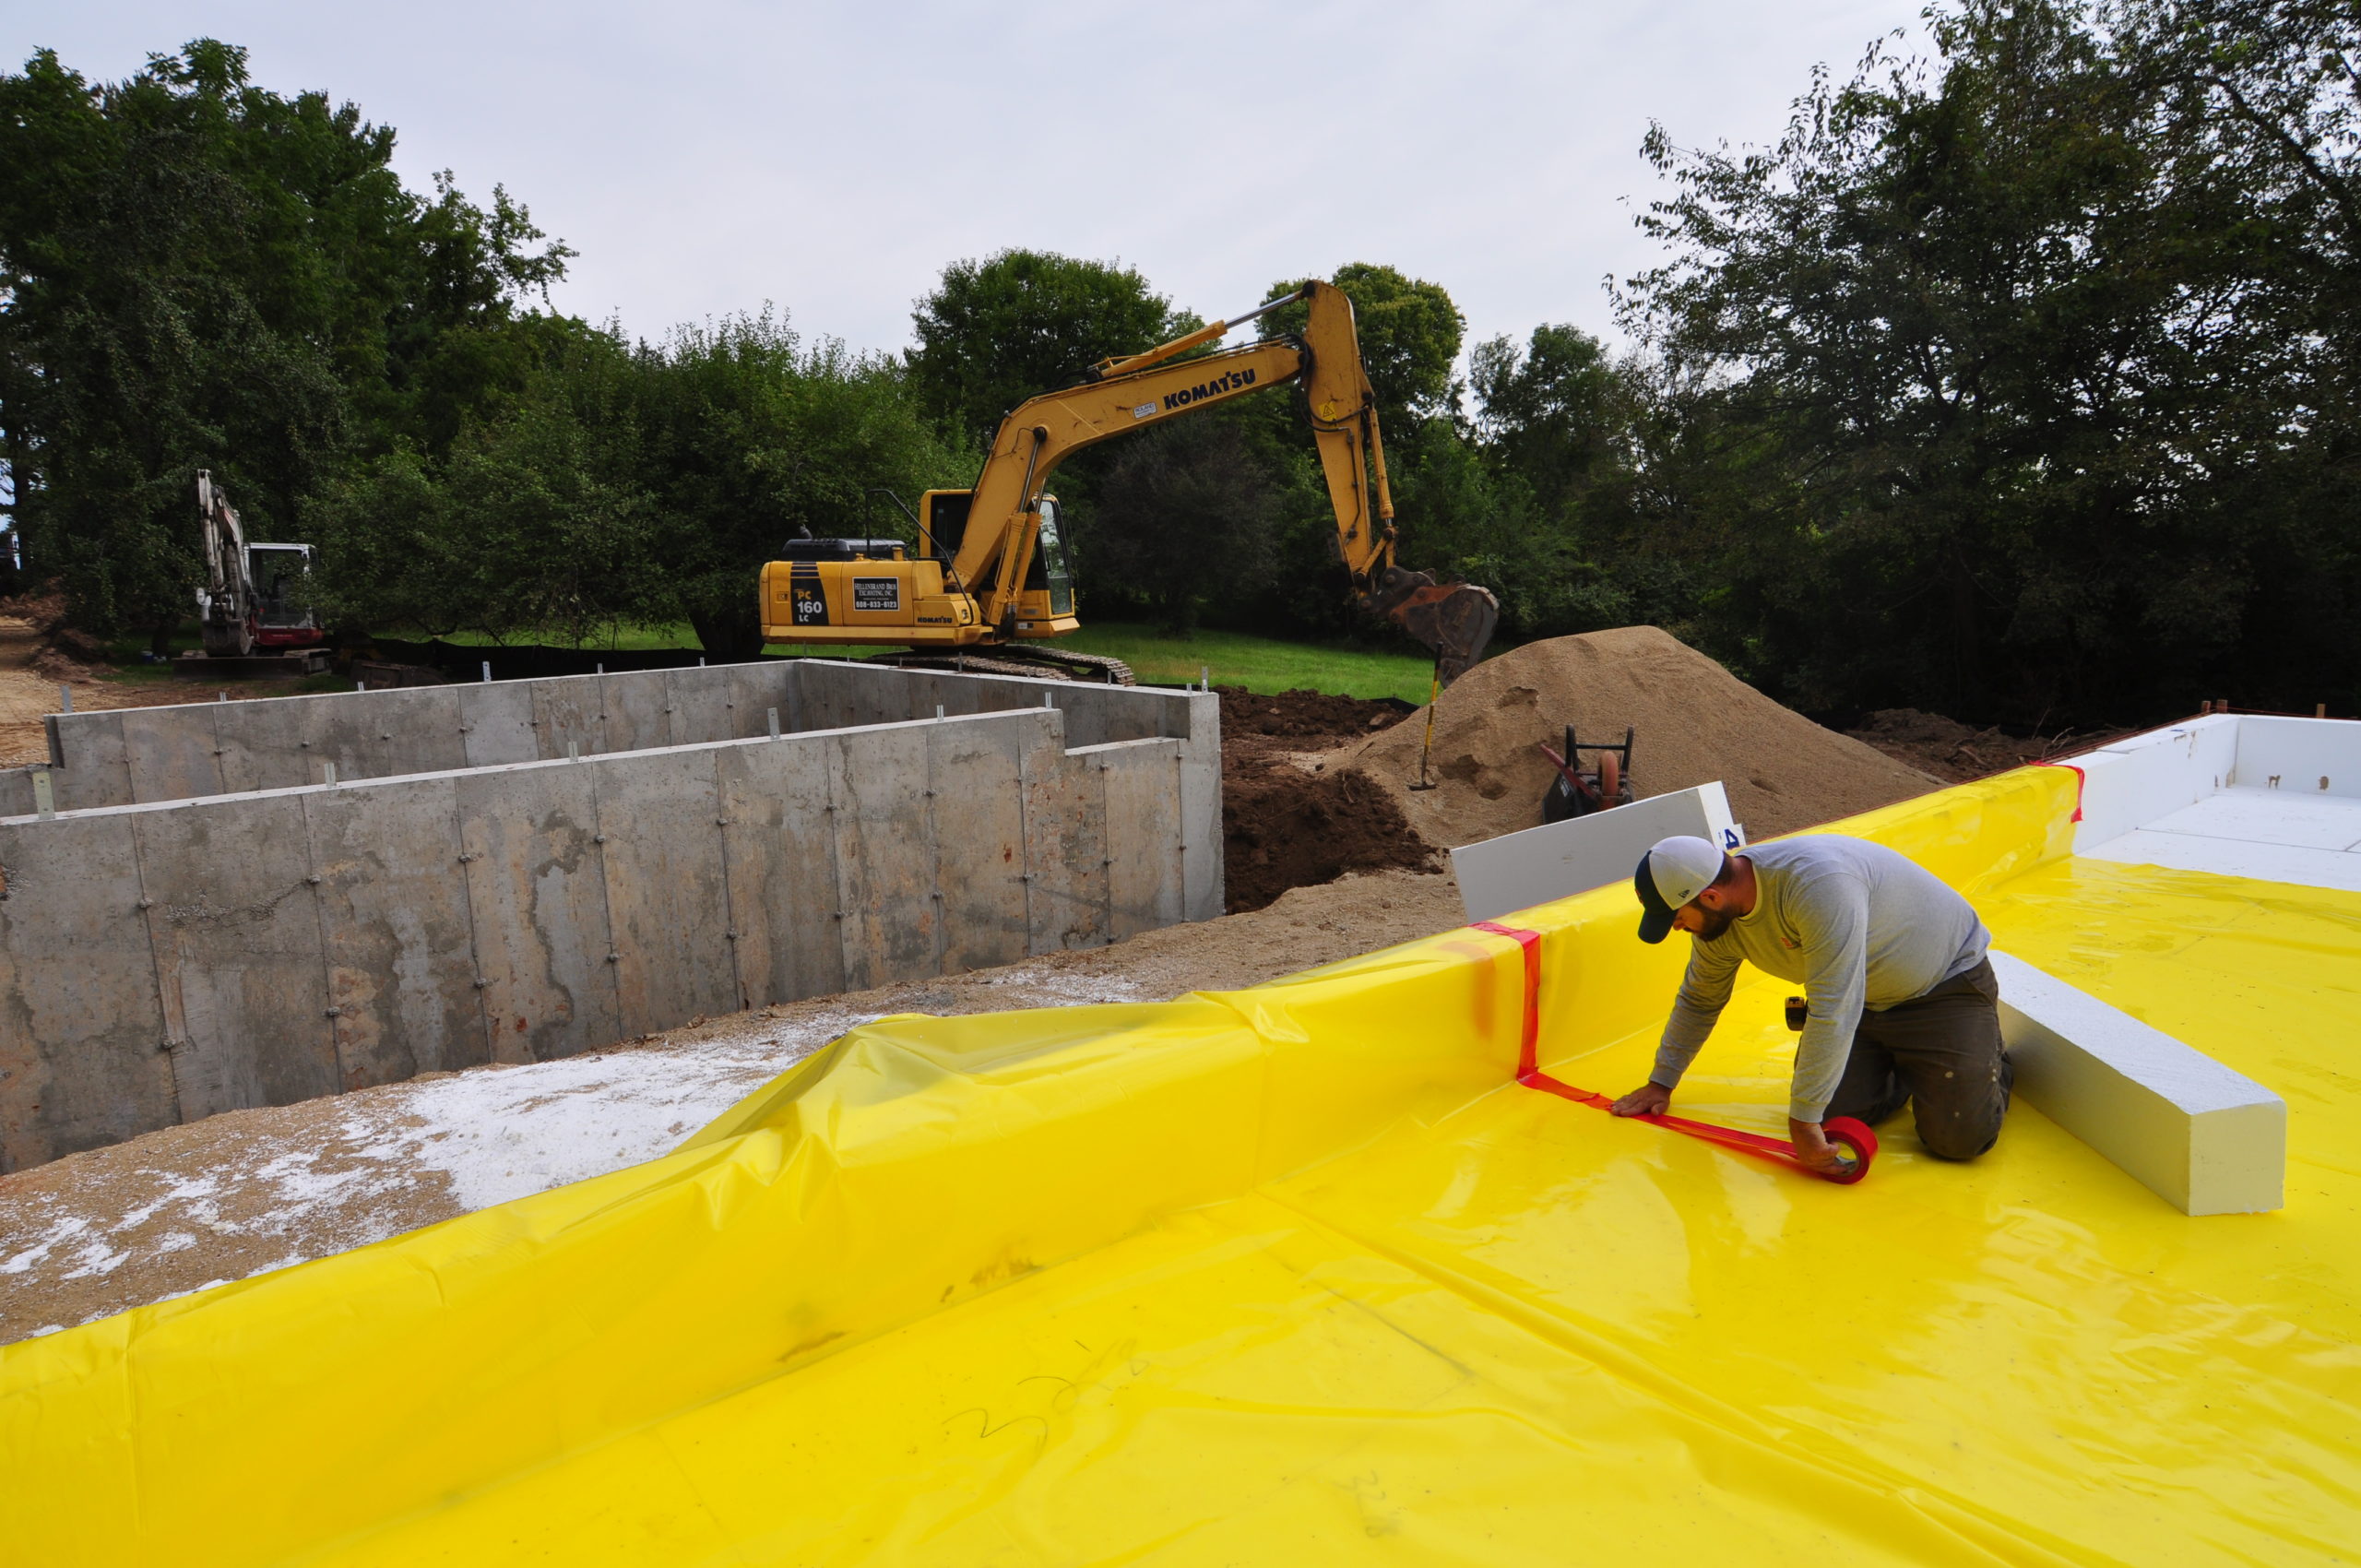
The foundation for this passive house consists of a slab-on-grade with a thickened perimeter footing that is thermally isolated from the ground by eight inches of high-density, structurally-rated EPS insulation (R-38). The insulation layer turns up at the edge of the slab and will connect with the above-grade wall insulation, creating a continuous thermal envelope devoid of thermal bridges, a key component of passive house buildings. The Stego Wrap vapor barrier is positioned below the slab and also turns up at the perimeter. It will be taped and sealed to the ZIP sheathing which acts as the air barrier in the walls. This will create an airtight connection between the two assemblies, another pillar of the passive house set of strategies. Additionally, frost protection is provided by five feet of horizontal perimeter insulation; and the entire system sits on a layer of compacted structural fill.
Click the first image below to view a slideshow of images detailing the foundation construction process. And stay tuned for the next blog post which will cover framing, insulation, and air sealing for the walls and roof!


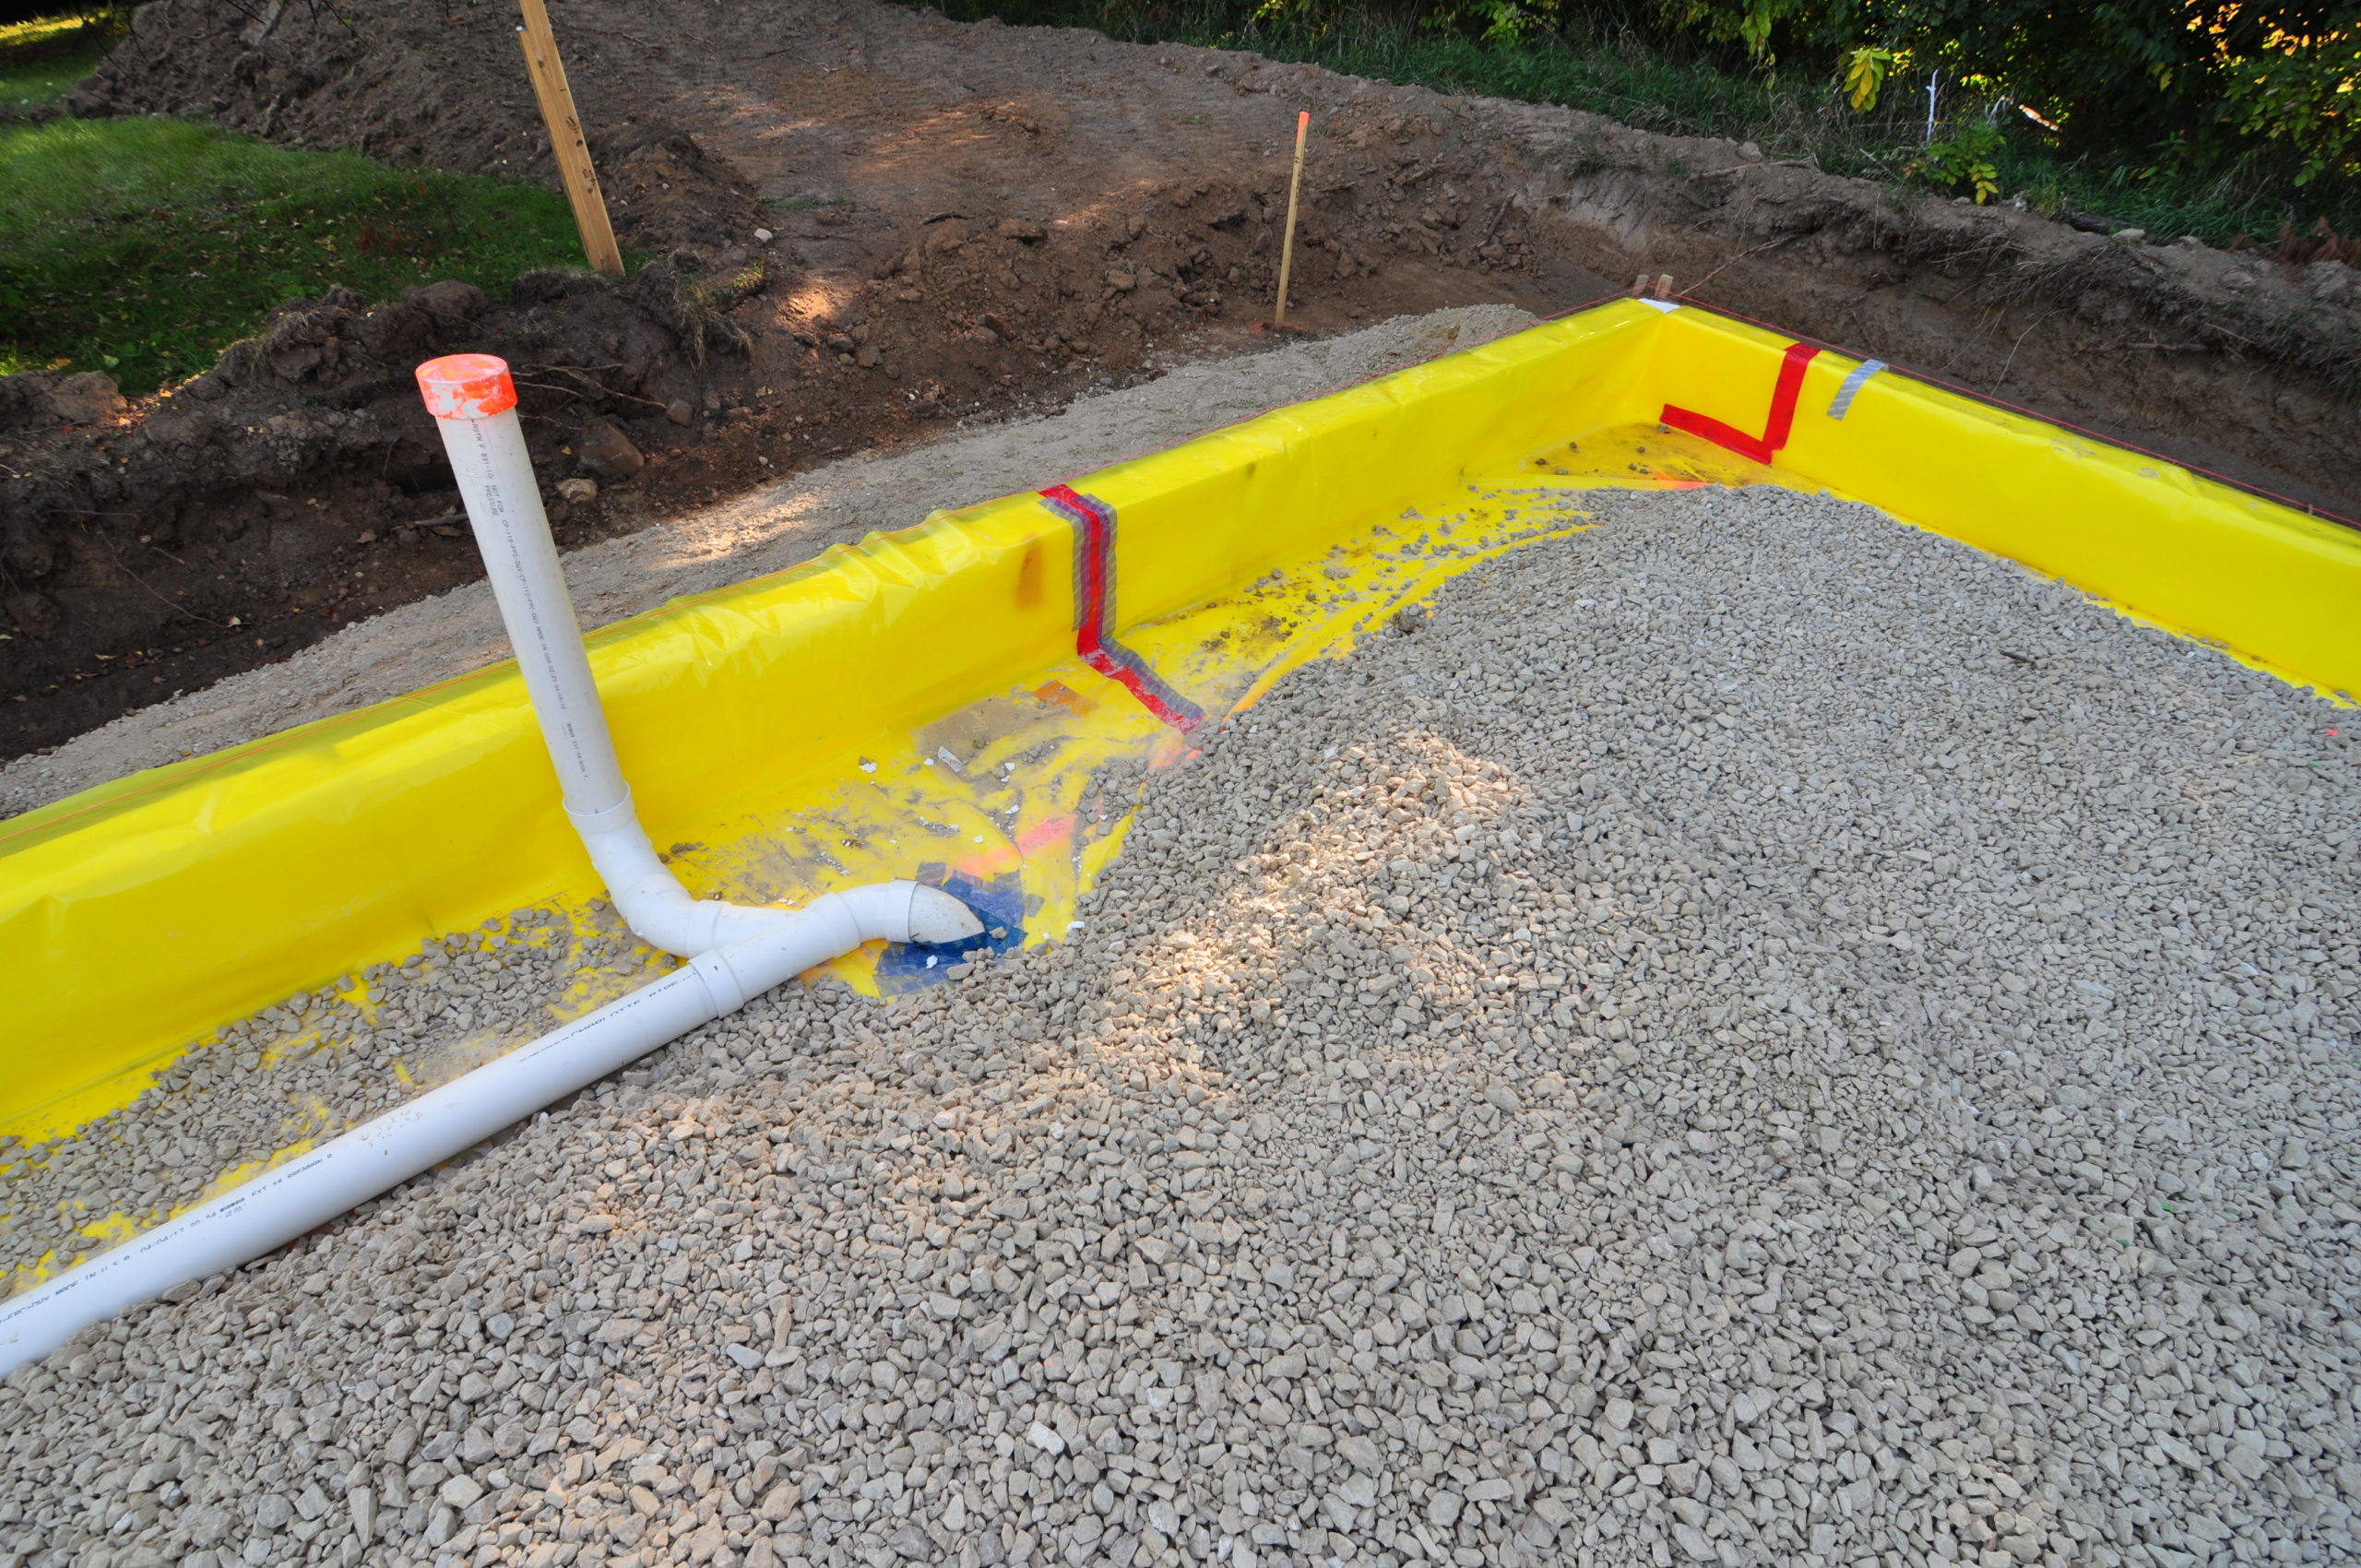


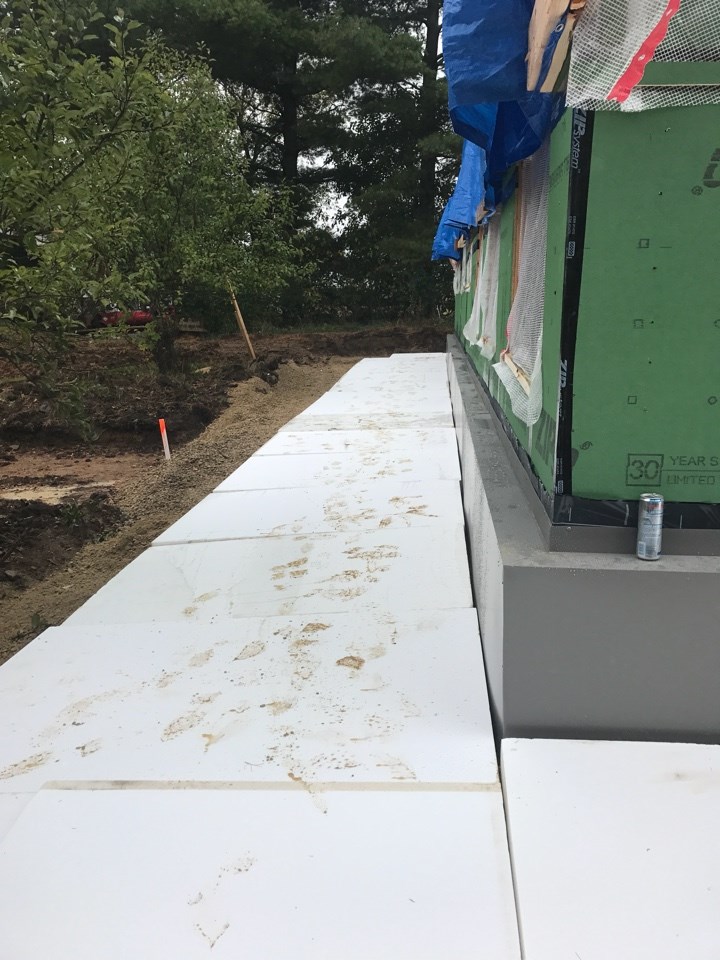

Finally, the last step was to cover the perimeter insulation with fill.
Read Our Passive House Series
Back in 2017, we wrote a series of blog posts as we were building a passive house for a client on Mud Lake in McFarland, WI. We invited our readers to join in and follow along with our process of building this passive house—from the foundation to the wall and roof systems and beyond.
 Tour TDS Custom Construction’s Latest High-Performance Home Build
Sunday, December 3, 2023, 11 am -1 pm Building resilient…
 Sustainable Building & Remodeling
Sustainability for your home can mean a lot of things. This blog post breaks it down below into three easily digestible parts: from sustainable remodeling to deep energy retrofits and passive home construction.
 Mud Lake House Update: The Mechanical Systems
Follow along for the continuation of this blog series—where we’ll first update you on the mechanical systems (heat and ventilation) that we used for the home, then share some interesting data points on the home’s energy performance.
Written by Christi Weber, Project Designer at TDS and Wisconsin’s first Certified Passive House Consultant. She has been in the design field for 10 years, specializing in residential projects, Passive House, Net-Zero and High Performance homes.
Published on Nov 01 2017
Last Updated on Dec 21 2023
Categories: Passive House
Tags: energy efficiency, foundation, insulation, new construction, new home building, passive house, zip sheathing